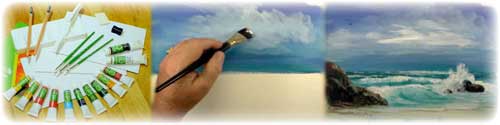
 The materials you require for this lesson: 14" x 10" Winsor Canvas Board
Water container
Old Cloth
Pencil & Ruler
An easel & hairdryer, if you have them.
Paints
Ultramarine Blue
Cobalt Blue
Phthalo Green.
Titanium White
Raw Sienna
Burnt Umber Acrylic painting Video guide part1
Acrylic painting Video guide part2 Take your board and affix it to your easel, or place it on a table and raise the back about 2" by placing something under it.
Put the ruler about half way up the board.
Make up a mixture of Ultramarine Blue and with a No8 Round Nylon Brush, paint the horizon line. 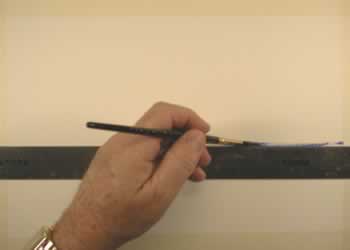 Change to 1" Flat Nylon Brush and starting from the top of the board, paint the sky using Ultramarine Blue. 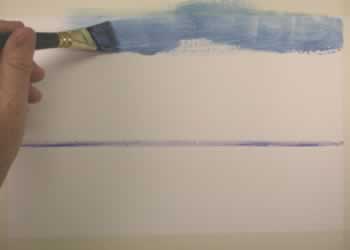 Make a mixture of 90% Cobalt Blue and 10% White
Start to add in some Cobalt Blue and a little white, about 90% Cobalt and 10% White.
Make a mixture of 50% Phthalo Green (or Viridium Green) and 50% cobalt Blue
The bottom of the sky is painted with Cobalt Blue and Phthalo Green, about 50% of each. 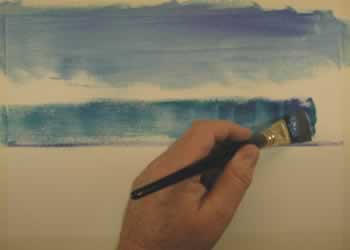 Next starting from the top draw the 1" Nylon Brush lightly across the board. Carry on down to the horizon line, this will give you a nice even effect. 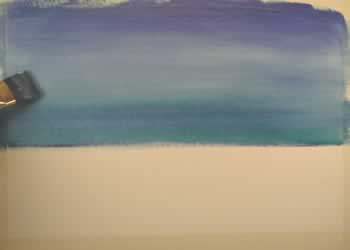 Now let the sky dry, you can use your hairdryer if you like.
Clean your 1" Flat Nylon Brush and take some white paint and start to paint the sky.
Work from the centre of the sky. 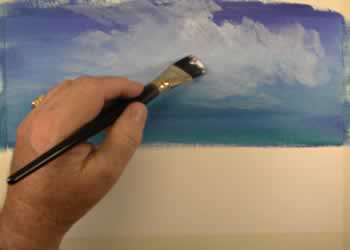 Keep 1" above the horizon line. 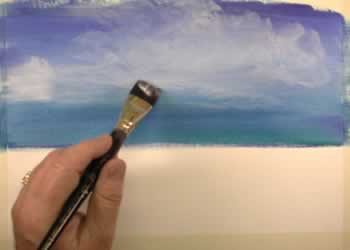 Once more, draw the brush lightly across the picture, this softens the clouds.
Add in a some small clouds to the bottom of the picture.
WARNING - Always keep your brushes in water when you are not using them. When you finish your painting, make sure and completely wash them thoroughly, leave them lying Flat or standing with Bristles upwards in a jar or pot.
Clean your 1" Flat Nylon Brush and dry it. Using White paint, create a bright area in the centre of the sky. 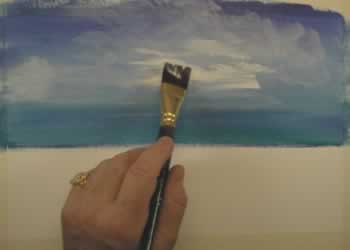 To give the impression of sun in the clouds.
Add in some smaller, less bright, clouds, lower down.
Change to the No8 Nylon Brush and using a mixture of Green and Cobalt, 50% of each, start to paint the ocean. 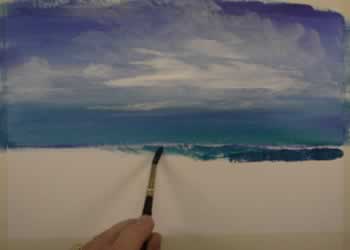 Carry on down and lighten the mixture by adding a little White Take your time
Go right to the bottom of your board. 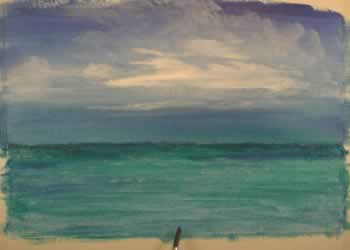 Change to your 3/8" Brush and fill the tip of the brush with white paint. Then starting on the horizon line, begin to paint the waves.
Move down a lttle to create the wave on the left side of the board.
Add some Green and Cobalt Blue to the White and go right across your picture.
Now clean your brush and using White, put the tip on the wave. 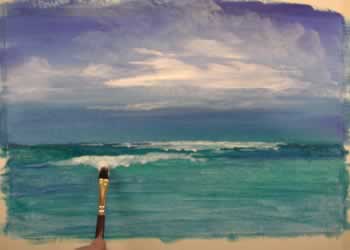 Mix 50% of Burnt Umber and 50% of Raw Sienna
Next, lets start the rocks, on the left. Using the 1" Flat Nylon Brush, with a mixture of Burnt Umber and Raw Sienna 50% of each.
When you have painted in the rocks on the left, change to the 3/8" Flat Nylon Brush and with the same mixture, paint the rock on the right. 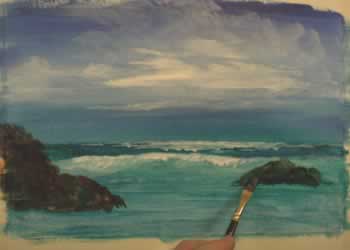 Clean the 3/8" Flat Brush and with some white. Put in the wave on the left. Mix some Burnt Umber and White Once more, clean your brush and with a mixture of Burnt Umber and White, start to put the highlights on the rocks on the left.
Dry the rocks with your hairdryer or let it dry for 5 mins, should be enough.
Clean the 3/8" Flat Nylon Brush and with a little White paint, put in the wave beside the rocks on the left. Then the wave on the right.
Add a little green to your mix. Just a tiny bit. And paint in the green water at the base of the wave on the left. 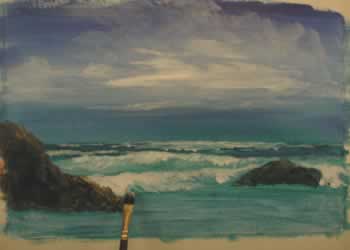 Carry on under the rock on the right. Take the 1" Flat Nylon Brush and with a mixture of 25% Burnt Umber and 75% White, paint the beach. 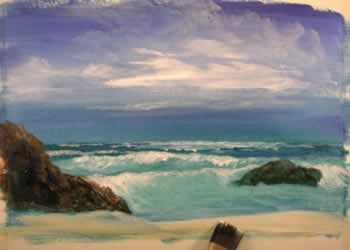 Right across, under the rocks. Drag the brush, lightly across the beach. I go right to left because I am left handed. If you are right handed, you can go left to right, if you wish. Change to the No8 round Brush and with some slightly darker green. Use less white in your mixture, paint under the wave, behind the near one. Change to the No8 Round Nylon Brush and with some White go along the top of the nearest wave. Now paint the bottom of the nearest wave with some white. Now lets load the No8 Round Brush with white and start to paint the sea crashing over the rock on the right. Dab the white paint, using the tip of the brush. Have a good look at the finished picture. Take your time and don’t over do it. Use very light downward strokes of the brush. Now paint in some foam under the right hand rock using some White. Next paint the foam where the sea meets the beach using White. 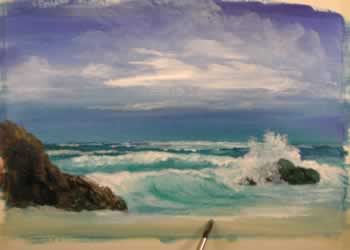 Clean the No8 Round Brush and then with some Burnt Umber, paint in a shadow under the rocks on the left. Go out on the beach with some shadows, with the Burnt Umber You are now ready to pu the finishing touches to your picture. With the 3/8" Flat Brush and a mixture of Burnt Umber and Cobalt 50% of each darken the underside of the rock on the right. With the No4 Round Brush and some Burnt Umber make the edge of the foam on the beach. Use some Burnt Umber with a No1 Nylon Brush. Now put in my pal, Joe the Bird and sign your picture.
Well finish, remove the tape around the edge and frame your masterpiece. 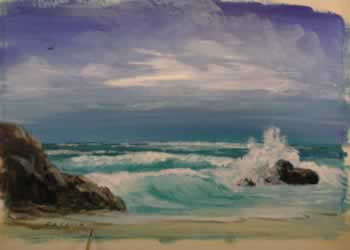
Source: http://www.simplypainting.com/Free-Painting-Lessons/Acrylic-Painting-Lessons/intro.asp?lessonID=19 | 
